Intune Trusted Site? Who Cares!
So trusted site is an important part of any enterprise environment. This policy controls the user experience, when accessing certain website allowing pass through authentication or SSO. Also allowing certain security controls to be bypassed for trusted sites such as Active X and various resource mappings. I'm not going to dig into that side of things, but cover how to take your existing site to zone assignment and deploy it through Intune for Azure AD Joined machines or even hybrid to replace the GPO.
Now before we get into it, there isn't a great GUI for site to zone like for many other things, we have a custom CSP. The CSP is a little tricky because the devil is in the details and formatting will be an issue when pasting our Site to Zone to our CSP string.
There is a 50 Domain limit for the CSP
The Data id= line must be formatted on a single line in your editor. (I Recommend Visual Studio Code)
Respect the spaces =  as you will see in my examples you must maintain spacing using HTML interpretation, and end with 2 spaces.
Grabbing current Site to Zone Assignment:
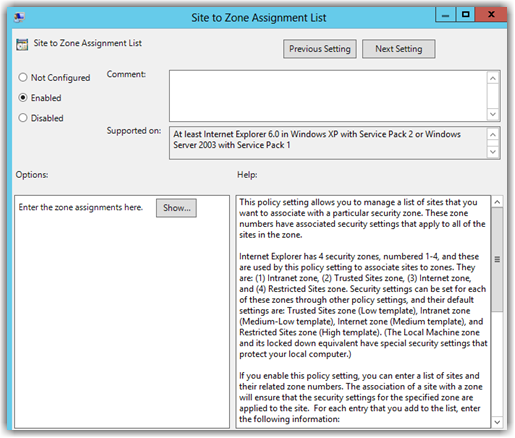
This can be done either in Group Policy Management, locating the policy your organization is using for IE/EDGE/Internet Setting. This can be a mess for many organizations. Or you can open a elevated command prompt and run a RSOP.
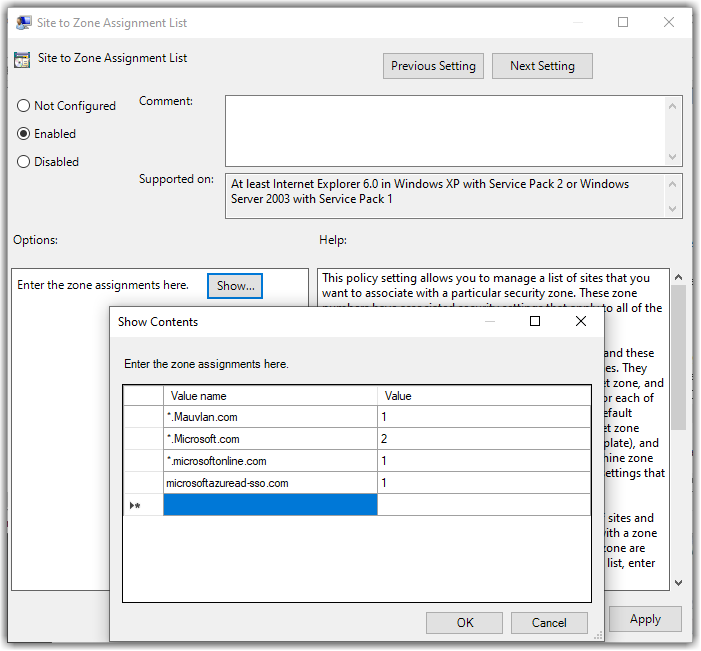
Site to Zone is located under "User Settings -> Administrative Templates -> Windows Components -> Internet Explorer -> Internet Control Panel -> Security Page"
2. Click Show to view current sites.

Export the policy or just copy the necessary URLs.
Past into an XLS or notepad and you know have a list to work with.
Many enterprises have allowed this list to grow on an as needed basis and its common to find overlaps here, your goal should be to consolidate before moving forward. If possible try and consolidate URLs down to the root and wild card especially for internal and trusted URLs like Microsoft and Adobe.
Now you have your listed simplified as much as possible we want to start building our string for our CSP.
Browse to my GitHub and copy the example AutoPilot/IntuneTrustedSites.xml at master · Mauvlans/AutoPilot (github.com)
Past into your editor I recommend Visual Studio Code - Download
Then proceed to add your URLs replacing the existing URLs in the example.
This entire policy should reside on two lines in your editor, first line to enable the policy and the second to define your string value with your assignment.
In line 2 you will notice the entire string is enclosed in quotes and each URL is defined with a space represented by the  then the defined zone assignment, and the entire string ends with two spaces .
Zone 1 = Local Intranet "Most Trusted URLS"
Zone 2 = Trusted Sites "Typical for commonly accessed URLs"
<Enabled/>
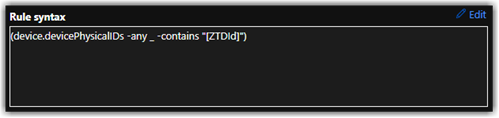
<Data id="IZ_ZonemapPrompt" value="*.Mauvlan.com1*.Microsoft.com1microsoftazuread-sso.com1*.microsoftonline.com1"/>
Create your custom CSP
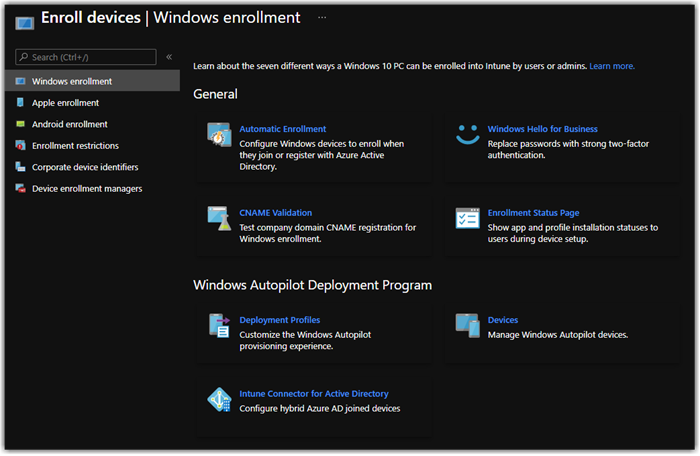
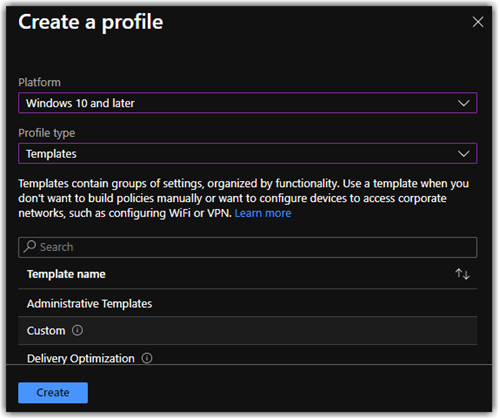
In the Microsoft Endpoint Manager Admin Center, choose Devices > Windows > Configuration profiles
Choose + Create profile
Select Windows 10 and later > Templates > Custom
Next Create
5. Provide a Name ex. AAD - Site to Zone Assignment and Next
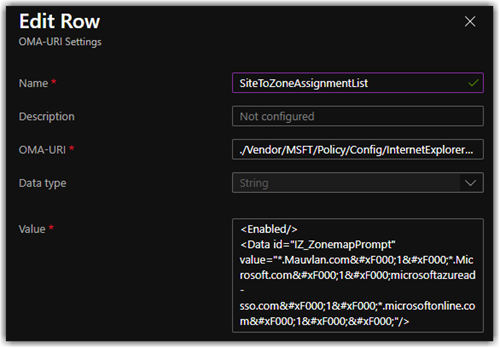
6. Select Add to a customer OMA-URI setting
7. Provide the following replacing the Data id string with your own
Name:
Intune Site to Zone (Or whatever you want)
Description:
(Whatever you want)
OMA-URI:
./Vendor/MSFT/Policy/Config/InternetExplorer/AllowSiteToZoneAssignmentList
Data type: (String)
<Enabled/>
<Data id="IZ_ZonemapPrompt" value="*.Mauvlan.com1*.Microsoft.com1microsoftazuread-sso.com1*.microsoftonline.com1"/>
8. Select Save
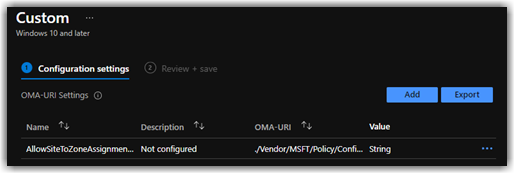
9. Review + Save
10. Finally target to user Users.